Quick start: your first design in 3 steps
- 1
Upload a room photo
Open the Studio. Photo is selected by default — drop in a photo of your room.
- 2
Pick a room type and style
Choose the room (living room, bedroom…) and a style such as Modern or Japandi.
- 3
Click Redesign Room
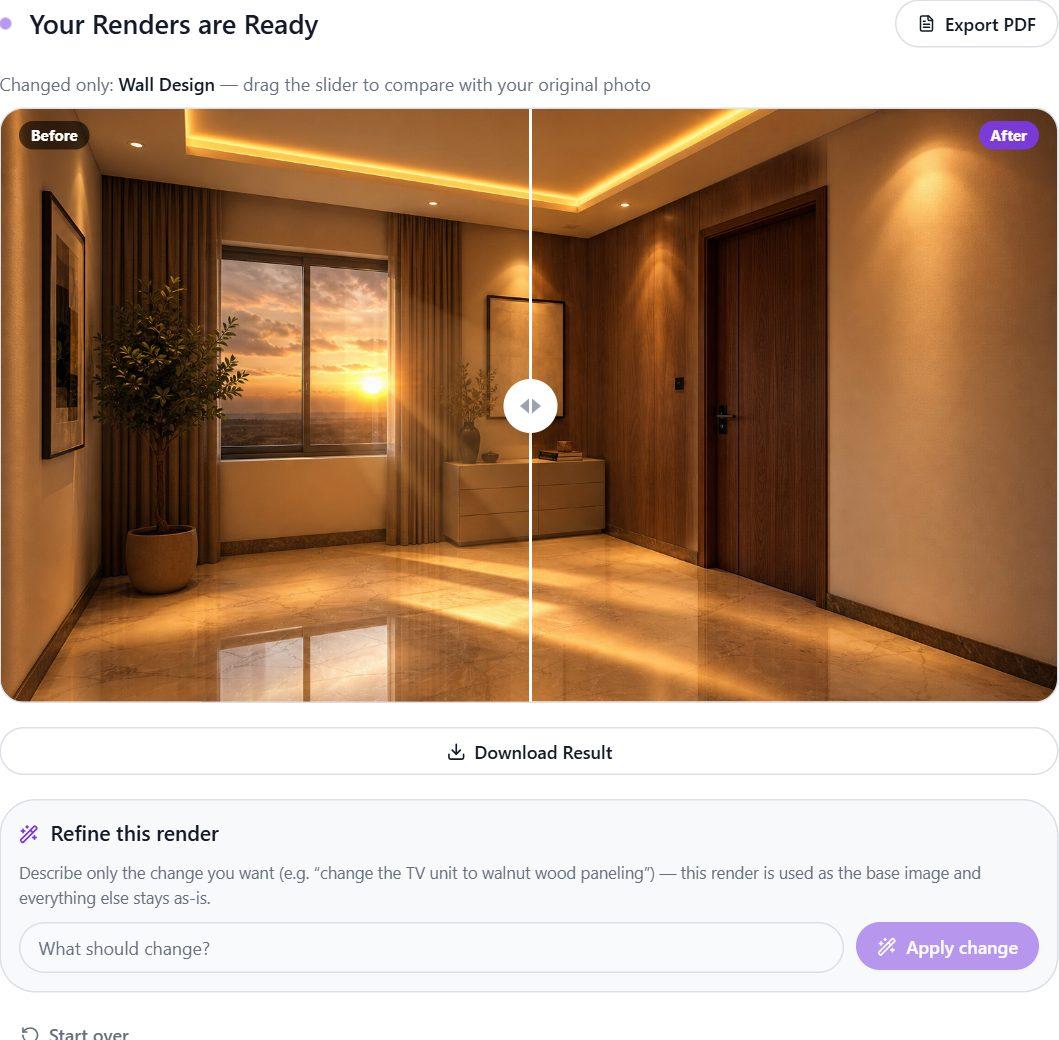
In about a minute you get the redesign, with a slider to compare it to your photo.
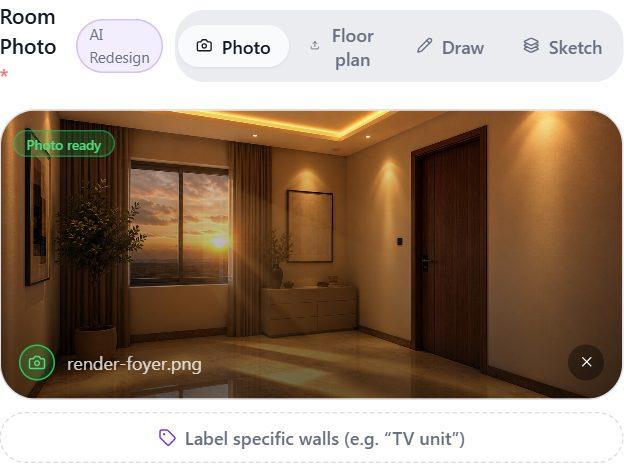
Choose your starting point
Pick the tab at the top of the Studio that matches what you have:
Photo
Use it when: You have a photo of a real room.
Redesigns it in your chosen style. Walls, windows, doors and the room’s shape stay as they are — furniture, materials, colours and decor change.
Floor plan
Use it when: You have a floor plan image (CAD export, scan or photo).
Turns it into a photoreal 3D render. Pick a camera view, render all four walls at once, or compare three styles side by side.
Draw
Use it when: You don’t have a floor plan yet.
Enter your room’s size in feet or metres, tap the walls to add doors and windows, and place furniture at real sizes. The render follows your drawing.
Sketch
Use it when: You have a hand drawing or a 3D-model screenshot (e.g. SketchUp).
Paints it into a photoreal render while keeping your sketch’s layout and perspective.
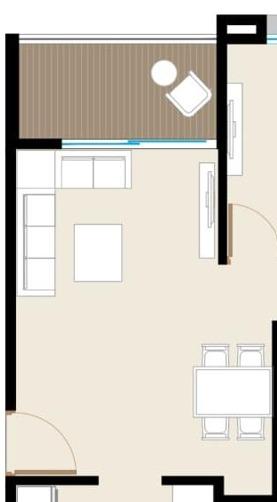
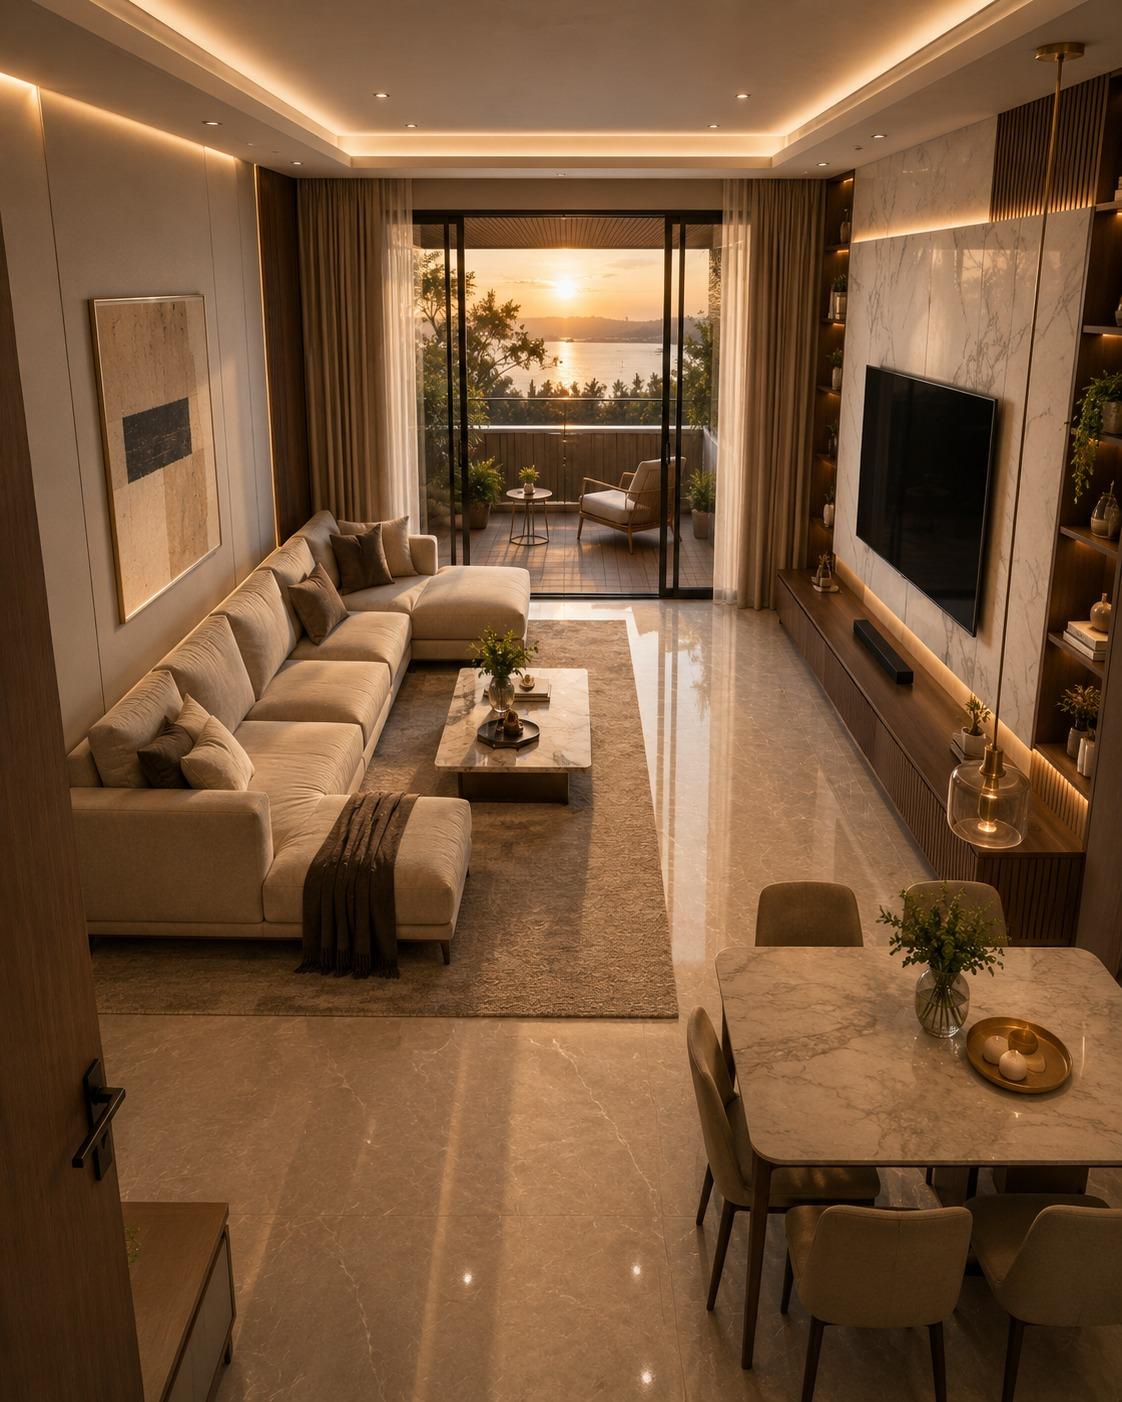
You can also guide the design with a theme prompt (e.g. “sunset tones, curved furniture, lots of plants”), a lighting preset (morning, afternoon, golden hour, evening) and a list of furniture to include.
Getting great results
The better your starting photo, the better the design. For room photos:
- Use daylight or turn on all the lights — dark, grainy photos give muddy results.
- Shoot from a corner or doorway at standing height, so two or three walls are visible.
- Hold the phone straight and include a bit of floor and ceiling.
- Keep it clear: move people, pets and loose clutter out of the shot.
- Skip filters and panoramas — a normal photo works best.
Reference photos: show the look you want
Under Reference Photos, upload up to 6 inspiration images — a TV wall you saw on Instagram, a wardrobe from a catalogue, a material sample. Tag each one with what it’s for (TV wall, wardrobe, sofa, ceiling, floor…) so the AI applies the right look to the right part of the room.
The Style influence slider sets how closely the design follows your references — from loose inspiration to an exact match.
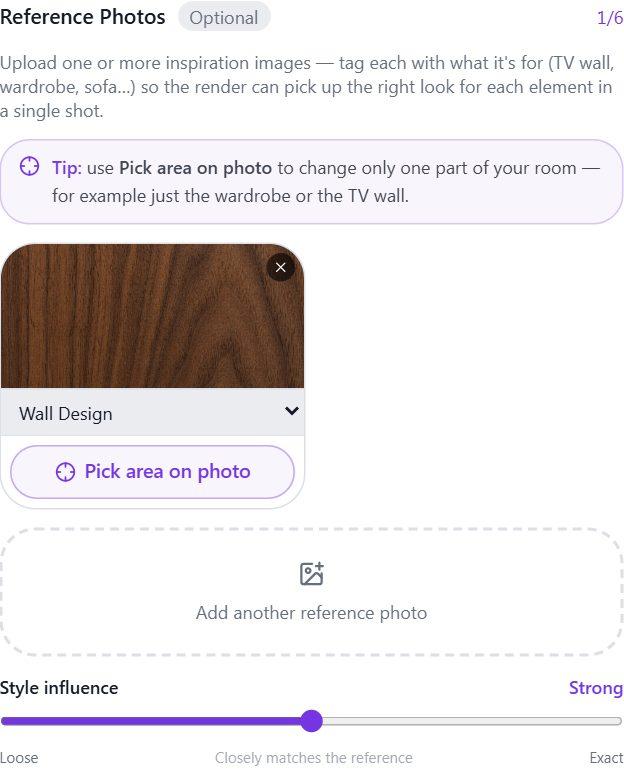
Change only one area of your photo
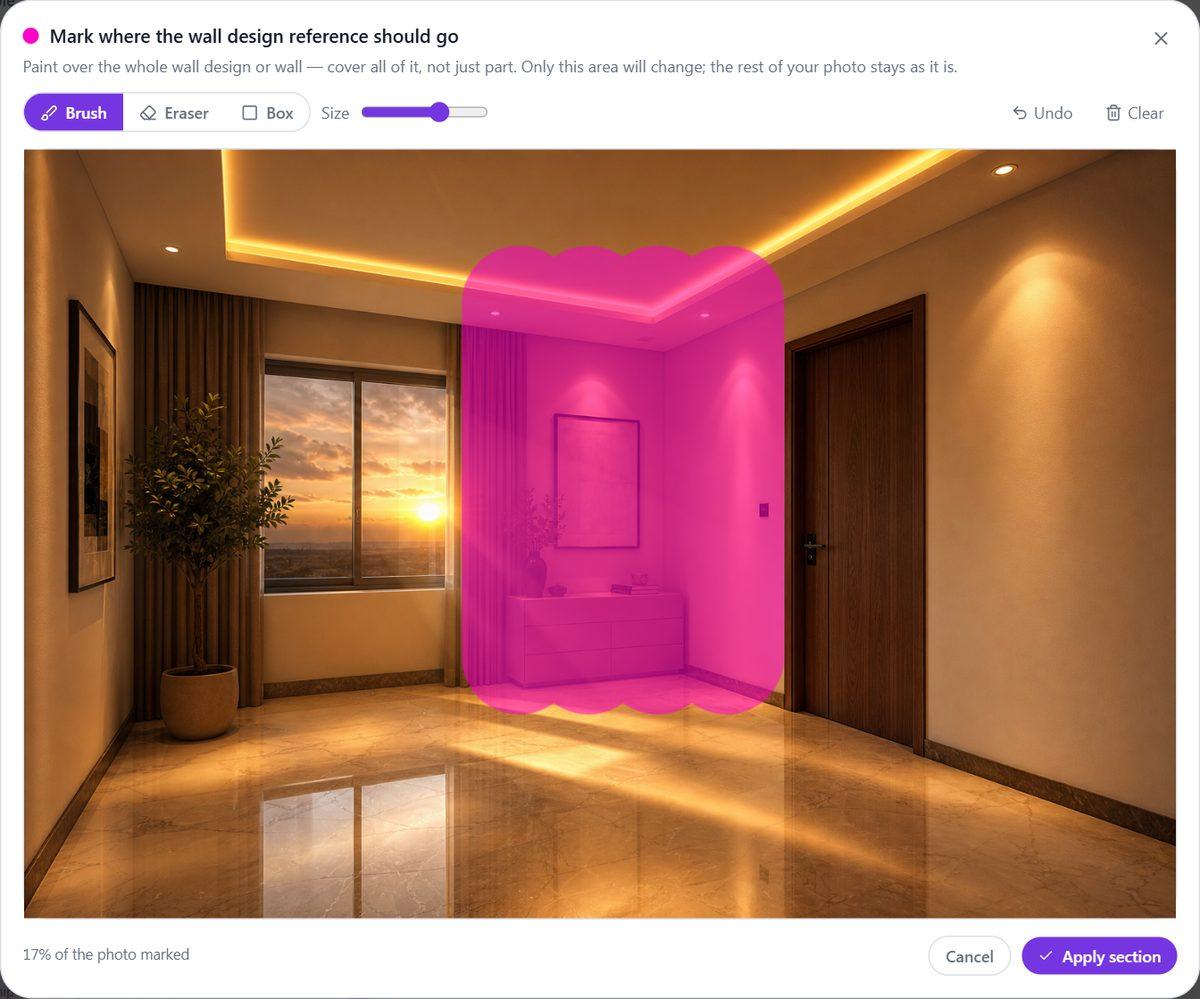
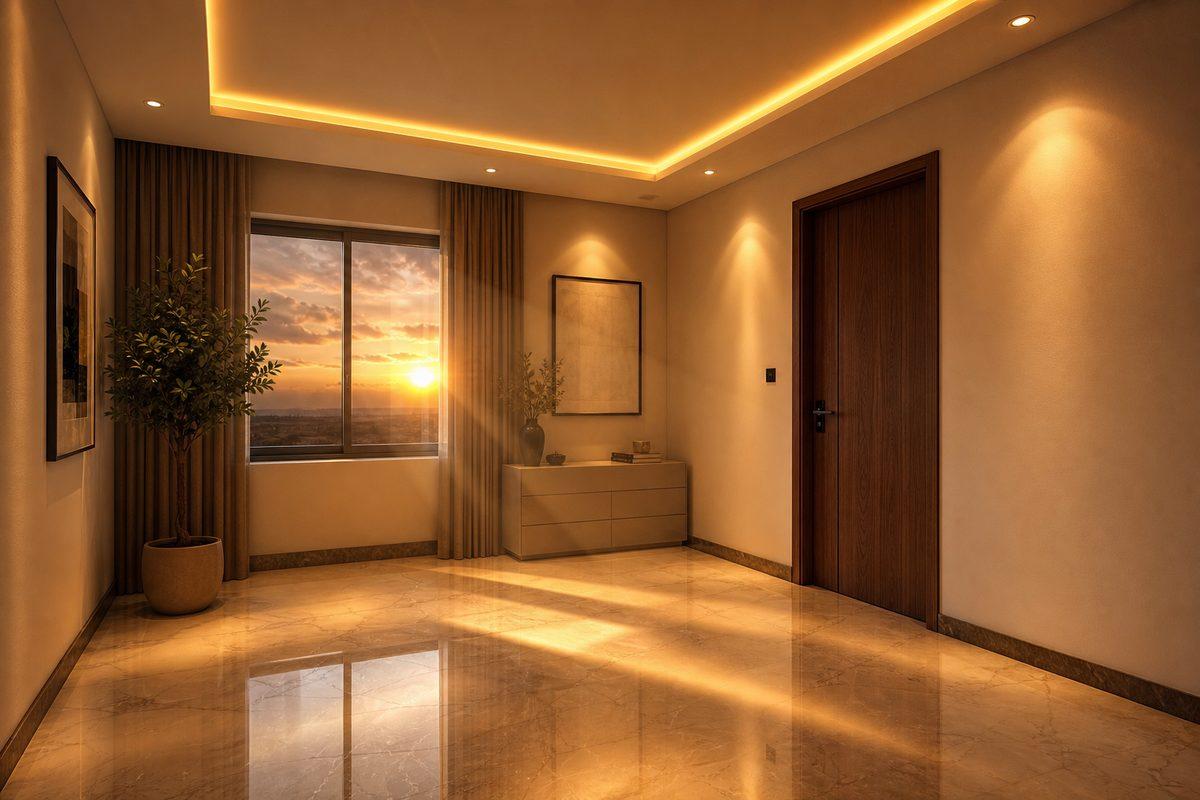
In Photo mode, each reference photo has a Pick area on photo button. Paint over the part of your room the reference should go on, and only that area changes — the rest of your photo stays exactly as it is.
- Upload your room photo and a reference photo, and tag the reference (e.g. Wardrobe or Wall Design).
- Click Pick area on photo and paint over the area with the brush (or drag a box). Cover the whole wardrobe or wall, not just part of it.
- Click Apply section, then Apply to Marked Sections.
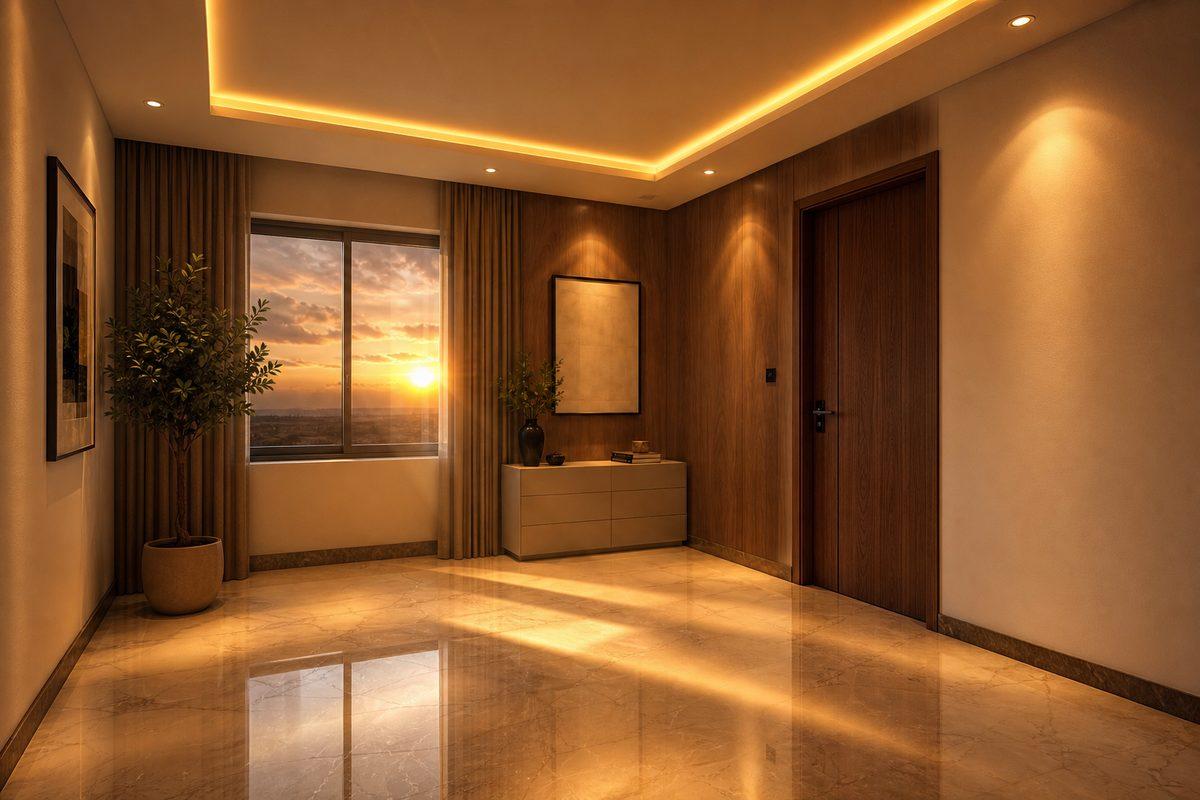
- Mark up to 3 areas in one render — each with its own reference and colour.
- While areas are marked, style, lighting and model settings don’t apply, and references without an area aren’t used.
- It costs 1 render, like a normal redesign.
Labels and refining
Label specific walls: after uploading a room photo, click Label specific walls and click anywhere on the photo to add a label like “TV unit” or “wallpaper”. The AI uses these as placement instructions — the text never appears in your render.
Refine this render: below every result, describe one change (“make the sofa deep green velvet”). Your render is used as the starting point, so everything else stays as it is. Each refinement uses 1 render.
Quality and renders
Good quality
Fast and great for exploring ideas. Uses 1 render.
High quality
Extra detail pass for final images. Uses 2 renders. Paid plans.
- All Walls (floor plans, paid plans) renders all four walls at once and uses 4 renders. Compare Styles uses 1 render per style.
- The free plan includes 5 renders a month and 1 project. Your remaining renders are shown at the top of the Studio, and they reset every month.
- Need more? See the Pricing page for plans and render allowances.
Projects and exporting
Choose a project at the top of the Studio before generating, and every render is saved to it. Find them later in Dashboard → Projects — handy for keeping each client’s designs together.
From the results panel you can download any image or export a PDF with the before and after images — ready to share with a client.
Measurements PDF is for your carpenter: enter the room's floor-to-ceiling height and you get a front-view drawing of the wall the design faces, with the height, width and position of the TV unit, cabinets, wardrobe, shelves and their drawers and shutters. Sizes the design draws far from usual practice (a counter too high, a TV too high) are flagged. It needs a view that faces a wall straight on; if your design looks into the room at an angle, it offers to create a straight-on view of the wall (1 render). Measuring itself doesn't use any renders. Available on paid plans. Check every size on site before making anything.
Frequently asked questions
How long does a render take?
Usually 30–60 seconds. High quality, All Walls and Compare Styles take a little longer because they do more work.
Does a failed render use up my renders?
No. A render is only counted when it finishes successfully.
Which photo formats can I upload?
JPG, PNG, WebP and iPhone HEIC/HEIF photos.
Why did something outside my room change slightly?
The AI redraws the whole image, so small details can shift. Try a clearer, wider photo, or use “Refine this render” to fix one specific thing. If you only want one part changed, use Pick area on photo — everything outside the area is kept exactly as in your photo.
Are my photos and renders private?
Yes. Only you can see your uploads and renders. See the Privacy Policy for how your data is used and stored. Privacy Policy
Where are my renders saved?
Download or export them from the results panel. To keep them organised, choose a project before generating — renders are then saved to that project in Dashboard → Projects.
How do I upgrade or cancel my plan?
Upgrade from the Pricing page. Cancel any time from the Billing page; your plan stays active until the end of the period you paid for.